Don't miss our holiday offer - 20% OFF!
In an ever-advancing tech world, Arduino has become one of the most popular prototyping platforms among DIY (do-it-yourself) enthusiasts and students. With its ease of use and flexibility, Arduino allows users from various backgrounds to learn and create exciting electronic projects. This article will discuss the simple steps to learn Arduino and provide a guide to creating your first project.
Contents
What is Arduino?

Definition
Arduino is an open-source platform consisting of hardware and software that enables users to create electronic projects more easily. Arduino also facilitates interaction between hardware and software through programming.
Main Components of Arduino
- Microcontroller: The processing unit responsible for running the program. The numbers in the Arduino model name indicate the type of microcontroller used (for example, Arduino Uno uses ATmega328).
- Arduino Board: A circuit board that contains the microcontroller and pins to connect various components.
- Arduino IDE Software: The Integrated Development Environment used to program the Arduino board.
Why is Learning Arduino Important?
1. Developing STEM Skills
Learning Arduino enhances skills in Science, Technology, Engineering, and Mathematics (STEM). By understanding the basics of electronics and programming, students can prepare for careers in technology.
2. Creativity and Innovation
With Arduino, users can express their creativity through various projects, from automatic lights to robots. This encourages innovation and creative solutions to problems.
3. Supportive Community
The large and active Arduino community provides many resources, tutorials, and support for users to learn. This makes it easier for beginners to get started and receive help when needed.
Easy Steps to Learn Arduino
1. Choose an Arduino Board
The first step in learning Arduino is to choose the right board. Some popular options include:
- Arduino Uno: The most common board and ideal for beginners.
- Arduino Nano: A smaller version suitable for more compact projects.
- Arduino Mega: Has more pins and is ideal for more complex projects.
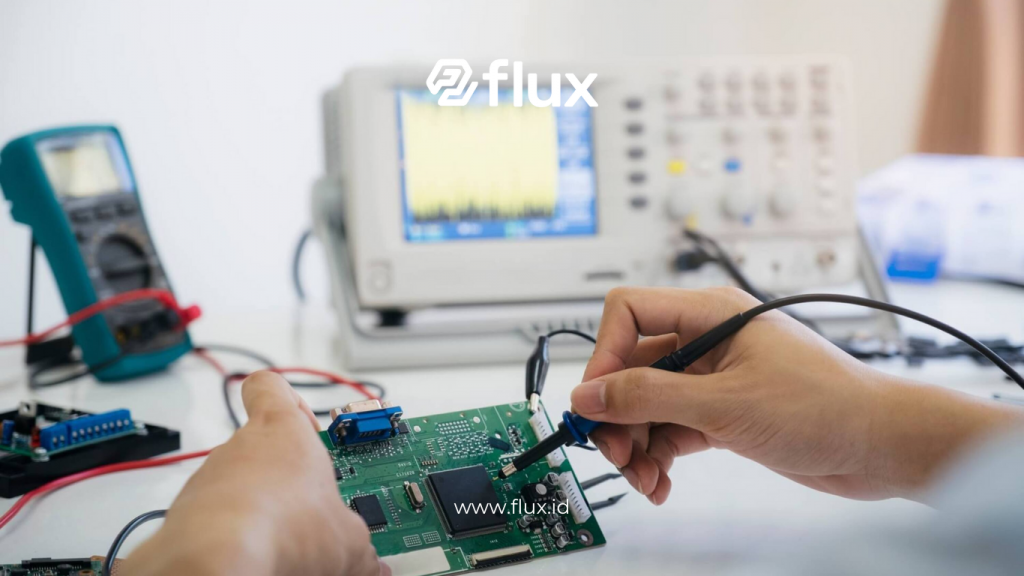
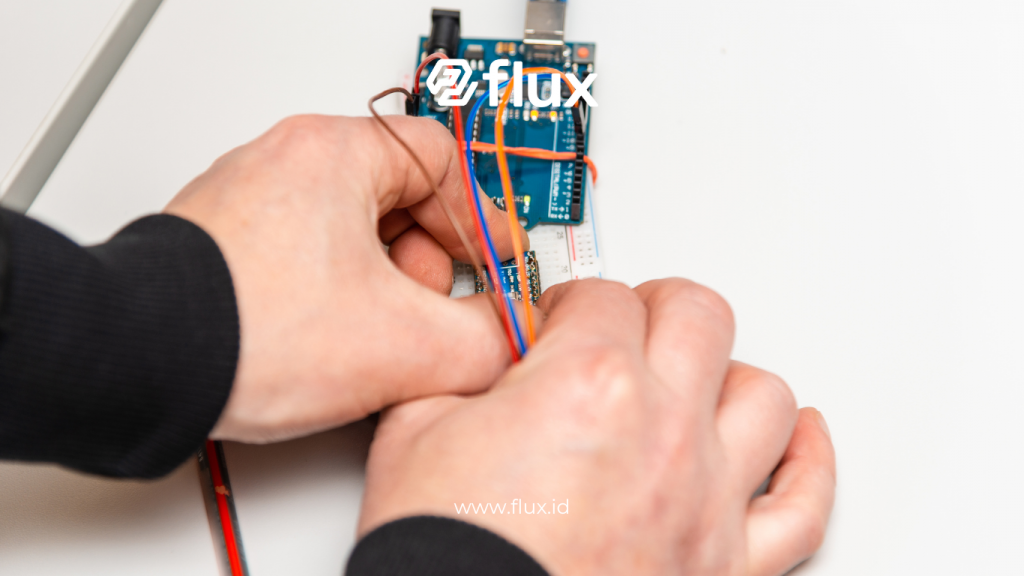
2. Prepare the Necessary Tools
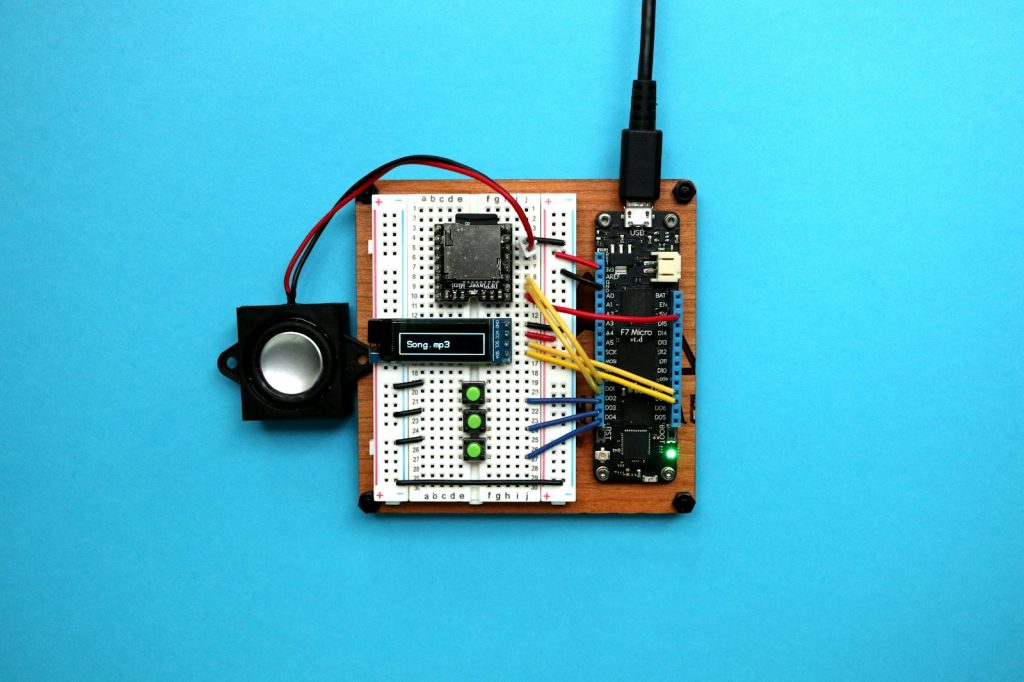
You will need some basic tools to start learning and creating projects with Arduino:
- Arduino Board
- USB Cable: To connect the board to your computer.
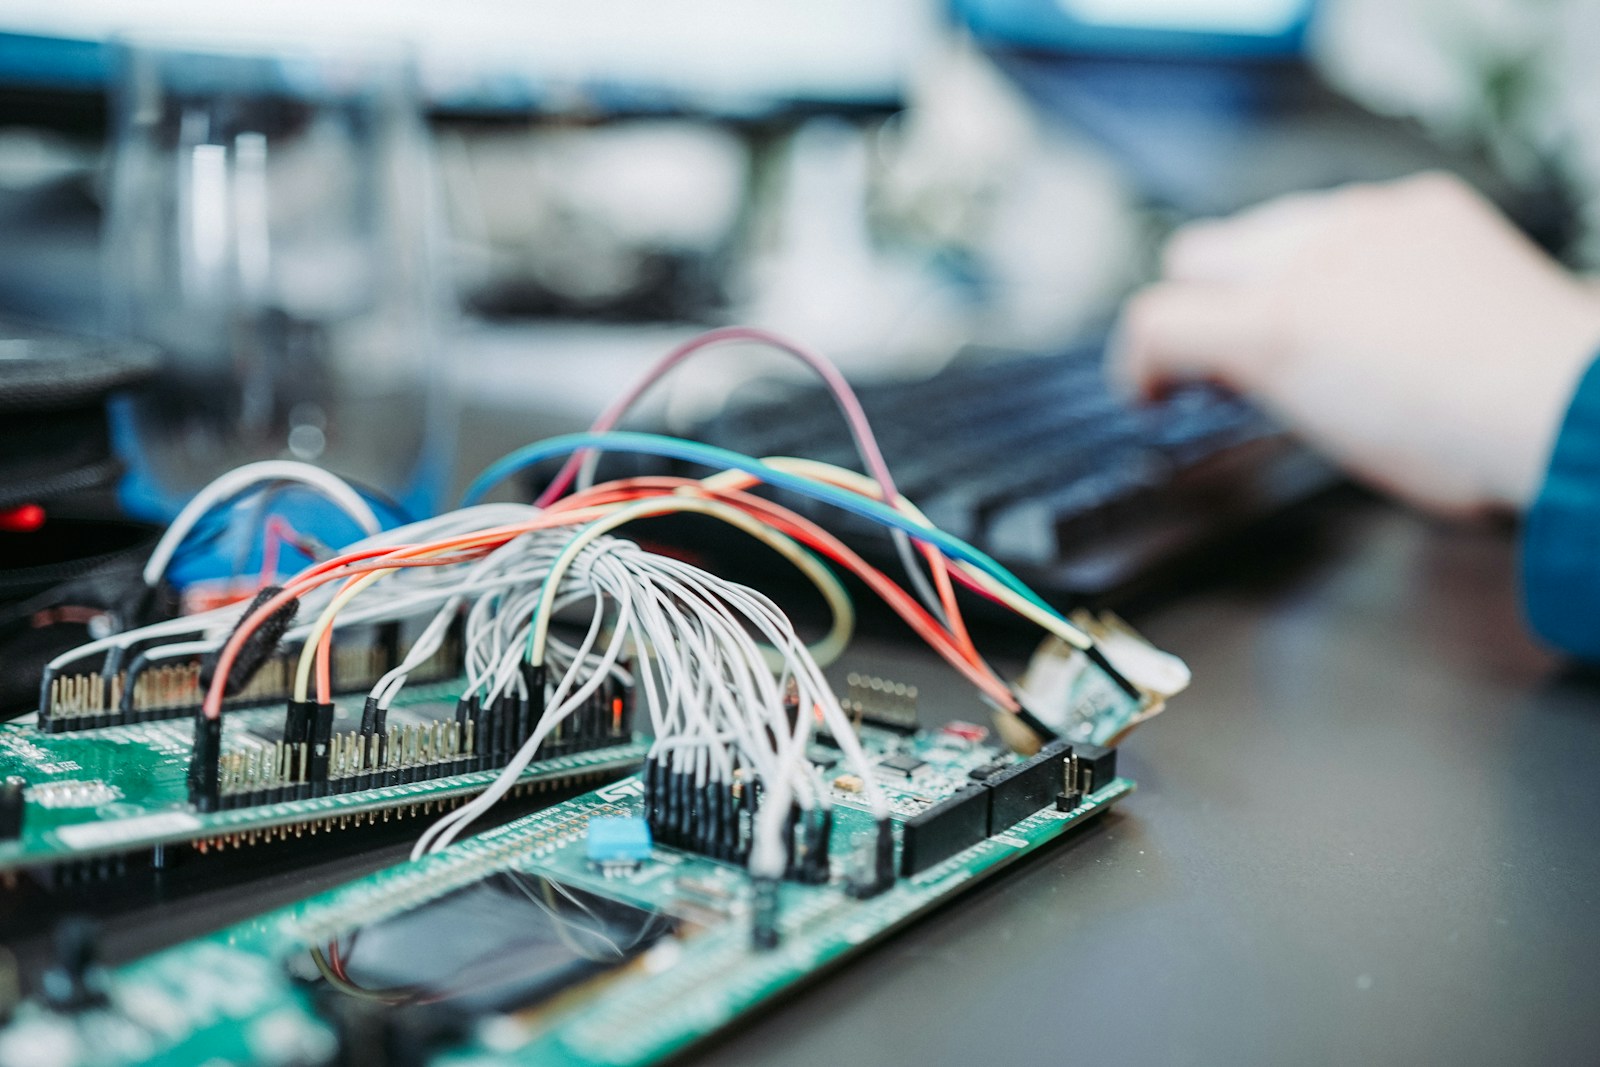
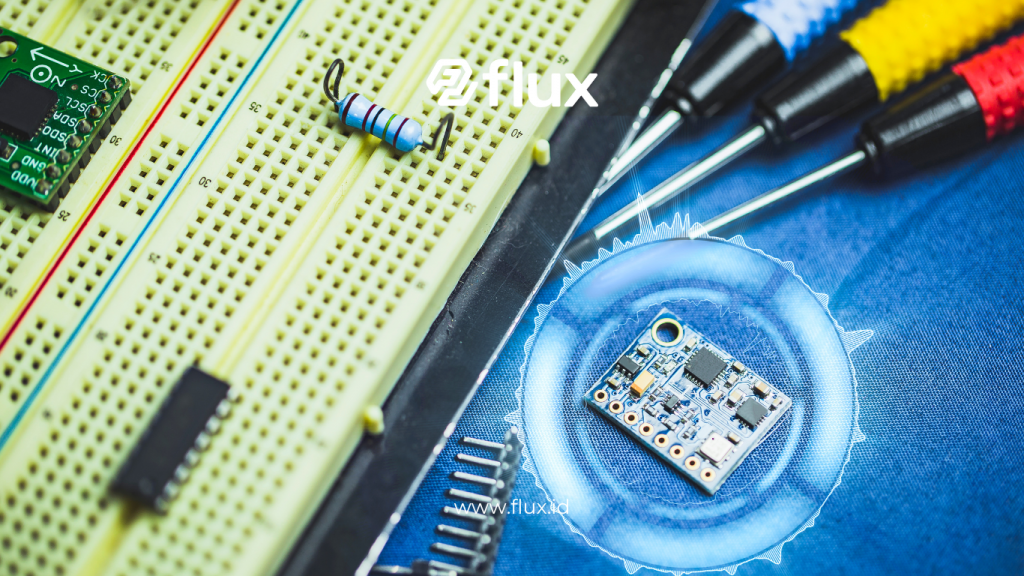
- Breadboard: For creating circuits without soldering.
- Jumper Wires: To connect components to the breadboard.
- Electronic Components: Such as resistors, LEDs, sensors, and motors, depending on the project you want to make.
3. Install Arduino IDE
Download and install the Arduino IDE from the official Arduino website. This development environment allows you to write, edit, and easily upload code to the Arduino board.
4. Learn to Use Arduino IDE
After installing Arduino IDE, spend time getting familiar with its features. Try writing a simple sketch (program) and ensure you know how to upload it to the board. Some examples of simple sketches include:
- Blink: A program that makes an LED blink.
- Analog Read Serial: Reads the value from an analog sensor.
5. Understand the Basics of Programming
If you are new to programming, start by learning the basics of the Arduino programming language, which is a variant of C/C++. Focus on the following concepts:
- Variables and Data Types
- Functions and Control Structures (if, for, while)
- Classes and Objects (for more complex projects)
6. Start Your First Project
Once you understand the basics, it’s time to start your first project. Choose a project that matches your skill level and ensure you have all the necessary tools and components.
Example Simple Project: Blinking LED
- Required Components:
- 1 x Arduino Uno
- 1 x LED
- 1 x Resistor (220 ohm)
- Breadboard and jumper wires
- Circuit:
- Connect the long anode of the LED to digital pin 9 on the Arduino through a resistor.
- Connect the short cathode of the LED to ground (GND).
- Code:
void setup() {
  pinMode(9, OUTPUT); // Set pin 9 as output
}

void loop() {
  digitalWrite(9, HIGH); // Turn on LED
  delay(1000);           // Wait for 1 second
  digitalWrite(9, LOW);  // Turn off LED
  delay(1000);           // Wait for 1 second
}- Upload Code: After writing the code, connect your board to your computer and select the appropriate board and port in the Arduino IDE. Click “Upload” to program the board.
Benefits of Learning Arduino and IoT
1. Improving Engineering Skills
Learning Arduino enhances skills in engineering and science. Understanding electronics, programming, and mechanics helps develop critical skills.
2. Stimulation of Creativity
Being able to create unique Arduino-based projects fosters creativity. You can design various devices that can help solve everyday problems.
3. Preparation for Careers in Technology
The skills gained from learning Arduino can open doors to various careers in technology. Many companies value candidates with technical skills and experience in IoT-based projects.
4. Participation in the Community
Arduino has a large and active community. Joining online forums and social groups allows you to share knowledge, seek help, and collaborate on projects.
Building Further Projects
After completing your first project, it’s time to enhance your skills and build more complex projects. Some advanced projects can include:
1. Environmental Monitoring System
Create an environmental monitoring system using sensors to track air quality, temperature, and humidity.
2. Automated Robot
Build a robot that can move and interact with its environment using sensors.
3. Smart Home
Implement IoT technology to automate your home, allowing remote control of lights, temperature, and security.
Conclusion
Learning and using Arduino in digitalization projects not only opens doors to a deeper understanding of technology but also supports innovation and creativity. By creating IoT-based projects, you can not only learn new skills but also contribute to better solutions in society.