Don't miss our holiday offer - 20% OFF!
In the era of Internet of Things (IoT), technology is increasingly accessible to everyone, including beginners. One of the best ways to learn about IoT and electronic technology is through Arduino projects. Arduino is an open-source platform that allows tech enthusiasts and programmers to easily develop a variety of applications and devices. In this article, we will discuss an exciting simple project: controlling a light using a light sensor. We’ll explain step-by-step how to set up this project, the components needed, as well as the applications and benefits of this technology.
Contents
Why Choose This Project?
1. Hands-On Learning
This project provides a practical and enjoyable learning experience about electronic components, programming, and the interaction between hardware and software.
2. Applications in Everyday Life
Controlling lights based on light intensity is a real-world application of IoT technology that can enhance comfort and energy efficiency in your home. This project serves as a good foundation for more complex applications in the future.
3. Energy Savings
By using a light sensor, the lights will only turn on when needed, saving energy and reducing your electricity bills.
Required Components
Before starting the project, make sure you have the following components:
- Arduino UNO: The main board to control your project.
- Light Sensor (LDR – Light Dependent Resistor): Used to detect the level of light around.
- 10k Ohm Resistor: To regulate the current to ensure it’s safe for the sensor.
- Relay Module: To control the flow of electricity to the light.
- Light Bulb: The light that will be controlled.
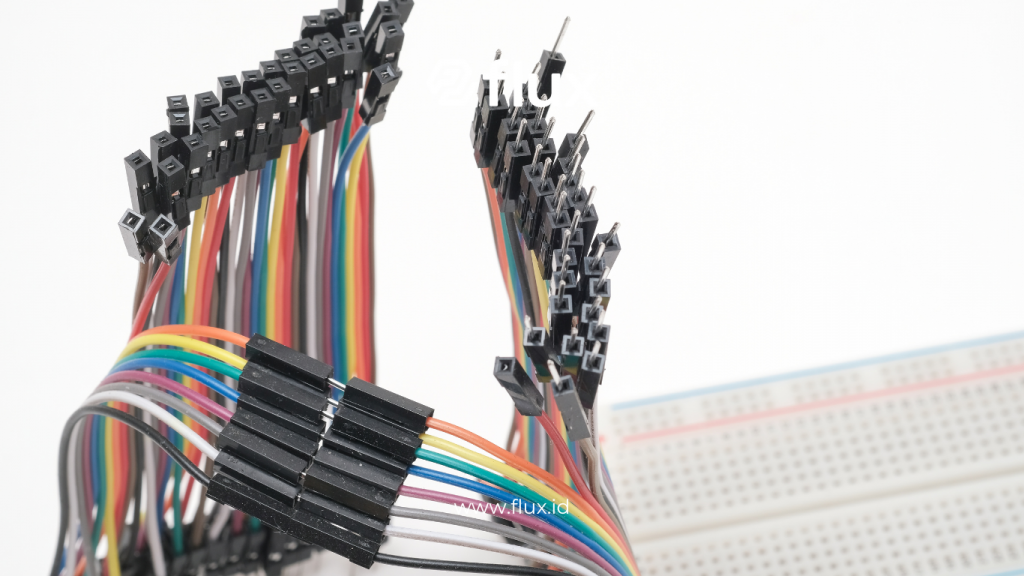
- Jumper Wires: To connect all components.
- Breadboard: To create a prototype circuit.
Steps to Create the Project
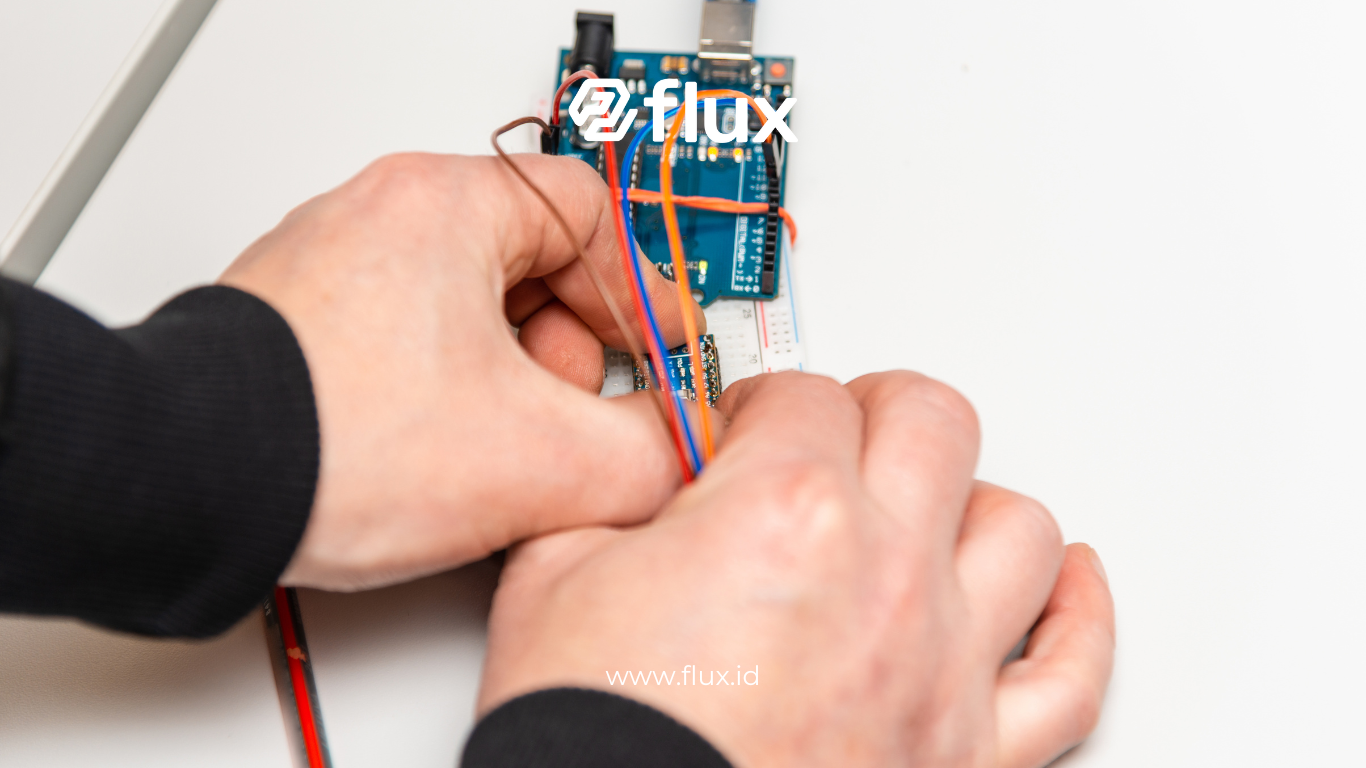
1. Connecting the Components
First, we need to connect all the components. Here’s a simple connection diagram:
- Connect the LDR to the Arduino: One leg of the LDR is connected to ground, and the other leg is connected to the analog pin A0 of the Arduino. Place the 10k Ohm resistor between the LDR pin connected to A0 and ground.
- Connect the relay to the Arduino: Connect the IN pin on the relay to digital pin 7 on the Arduino. Connect the relay’s VCC and GND to the positive and negative power of the Arduino.
- Connect the light to the relay: Make sure to follow the connection guidelines for the light to avoid accidents.
2. Programming the Arduino
After all the components are connected, it’s time to program your Arduino. Here’s a simple code example you can use:
int ldrPin = A0; // Pin for LDR
int relayPin = 7; // Pin for Relay
int ldrValue = 0; // Variable to store LDR value

void setup() {
  pinMode(relayPin, OUTPUT); // Set relay pin as output
  Serial.begin(9600); // Start serial communication
}

void loop() {
  ldrValue = analogRead(ldrPin); // Read value from LDR
  Serial.println(ldrValue); // Display LDR value on Serial Monitor

  if (ldrValue < 300) { // If light is low
    digitalWrite(relayPin, HIGH); // Turn on the light
  } else {
    digitalWrite(relayPin, LOW); // Turn off the light
  }
  delay(1000); // Delay for 1 second
}
3. Uploading the Code
After writing the code, connect your Arduino to the computer and upload the code to the board. Open the Serial Monitor to check the values read from the light sensor.
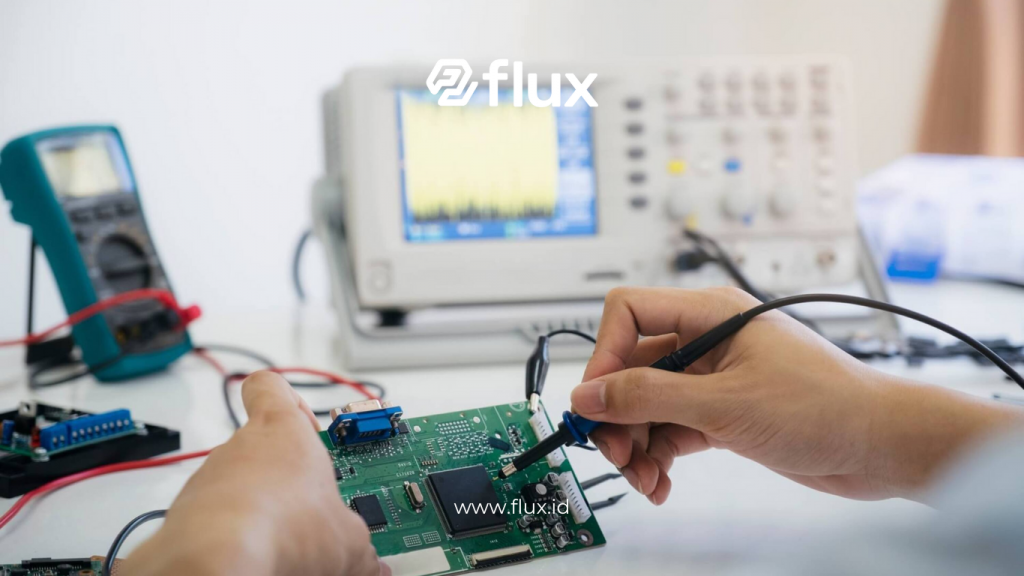
4. Testing
Test the system by changing the light level around the light sensor. If everything is working correctly, your light should turn on when the light is low and turn off when there is sufficient light.
Benefits of This Project
1. Understanding the Basic Concepts of IoT
This project provides a clear understanding of how IoT works, including how devices can interact with each other.
2. Energy Savings
Controlling lights based on need rather than leaving them on continuously helps reduce energy consumption and electricity costs.
3. Practical Application
This technology can be applied in various settings, whether at home, in offices, or in industries, to enhance efficiency and comfort.
Developing Further Projects
After completing this basic project, you might consider further developments by adding additional features like:
- Controlling Multiple Lights: Add more relays to control different lights based on zones.
- Remote Control: Integrate this project with a smartphone application to control the lights remotely.
- Additional Sensors: Use temperature, humidity, or motion sensors to create a more sophisticated system.
Conclusion
This Arduino project demonstrates how Internet of Things (IoT) technology can be used to improve efficiency and comfort in daily life. With solutions like Flux and Nocola IoT Solutions, companies have the opportunity to digitally transform and gain significant benefits from existing technology.
Making better and faster decisions through real-time monitoring is an important step in this digital era. Let’s continue to innovate and make technology a tool to enhance our lives!